

1. Gather photos (+ memorabilia, if there is any). Think through where the photos from your childhood and youth are. Did your parents make copies or put together albums for you that you took with you when you moved out? Are the photos still stuck in albums or boxes in your childhood home? Your parents might not have taken that many photos but perhaps other relatives or family friends did? If you don't have the physical photos with you, ask to borrow them. (If you're younger than me most of your life probably has been captured with digital cameras, in which case you can ask to copy the digital files.)
In my case, I had some physical photos that mum gave me growing up, but they weren't particularly organized. I'd put some in cheap albums; some were still in the envelopes from the photo printers etc. However, most photos from my childhood were in the family albums mum had put together over the years, so I borrowed those. Later on I also borrowed photos my sisters had that weren't in the family albums, and some that my late aunt left behind.
2. Prepare photos. Unless you're lucky enough to have all the photos from your life in digital format, you will need to buy or borrow a scanner. Scanning many years' worth of photos can be incredibly tedious, but tell yourself that you'll only have to do it once in your life because all your future photos will be taken with digital cameras (unless you are into film photography, but that's a different story). Also, you can feel good about yourself because you're doing something that won't only benefit you but also your parents, siblings and other relatives with whom you'll be able to share the scanned photos. In order to save time you can try to be selective about which photos you scan, especially if your parents were snap happy and took many photos of the same things. Skip photos that are of very low quality - with film photography you didn't know what you'd get, and at least in my case my mum tended to keep all the photos, even the very blurry ones.
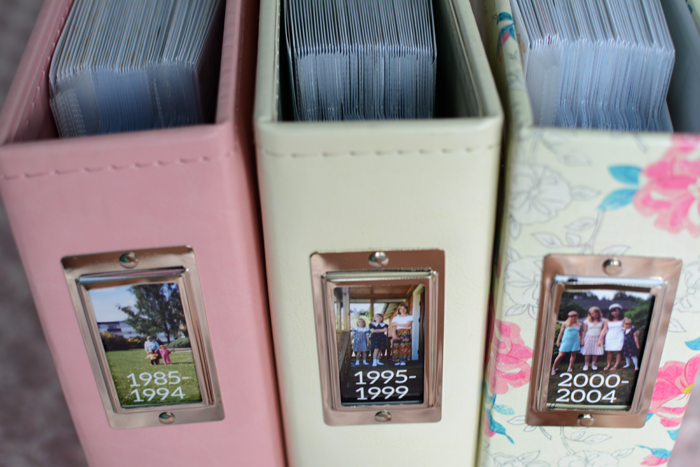
Organize the photos in folders by year (or month if there are dates on the photos). If you're unsure when a photo was taken you can zoom in once you've scanned it and look for clues - perhaps there's a calendar in the background, or something you associate with a certain time of your life. Most of my photos were organized in albums in mostly chronological order, but some were completely mixed up, and it took some detective work to figure out which years they were from. I am sure I didn't get it all right but that's okay - in the grand scheme of things it doesn't matter if a photo was taken in the autumn of 1992 or spring of 1993, the important thing is that it's there.
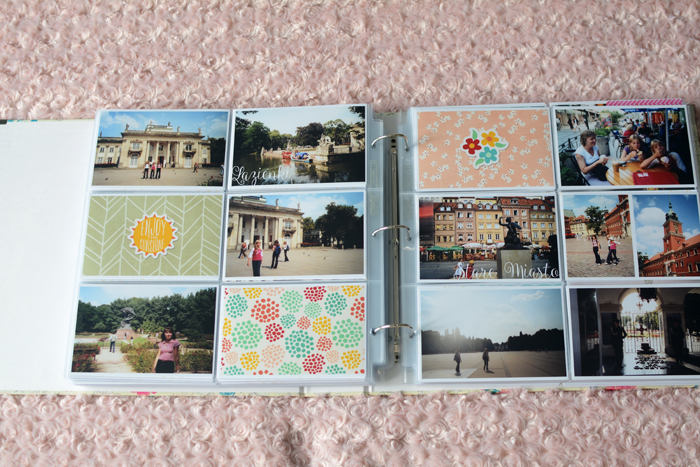
3. Find a workflow that works for you. It's likely that it will be different from the way you scrapbook your current life. For example, you might include a lot of journalling in your current scrapbooking and be unable to do so with the older photos because you simply don't remember as much, so you will need to find a way to let the photos stand mostly on their own. As I quickly realized, making photo books with the photos I'd scanned didn't work because the photos were of lower quality, and I decided to try Project Life instead. Because I had so many years' worth of photos to scrapbook, I took some time in the beginning to create some templates and actions in Photoshop to help speed up the process, and I can definitely recommend doing this.
4. Put together the physical product. How you do this will obviously depend on your method of scrapbooking. In my case I ordered photos in batches and made sure to keep the file names consistent and in order. Fortunately the printer I used packed the prints in the file name order, so once I got the photos I was able to slip them into page protectors in the exact order they came in, and was able to fill up an entire album in little over an hour.
5. Keep it up. Make sure you have a good system to organize the photos you take from here on out, and a plan for what you're going to do with them. Of course your style and methods will change over the years, the important thing is that you print the photos in some format, be it for pocket scrapbooking, traditional scrapbooking or in photo books.
Remember how much work it was to scrapbook all those years and try to keep up with your scrapbooking in the future, but also know that you've scrapbooked your entire life so far so you will be able to do it again even if you fall behind. Above all, have fun and enjoy the process :)
Project Life is a memory keeping system created by Becky Higgins. You can learn more about it here.

Så himla tjusigt! :) Skulle aldrig orka hålla på med något dylikt själv haha :p Håller mig till min målning istället ;))) Men bra jobbat ^^
ReplyDeleteHehe ja vi har alla våra små hobbies :) Jag passar på så länge jag inte har ett hus och trädgård som håller mig sysselsatt :P
Delete